


Firstly you must find a old paper texture at Google Images.
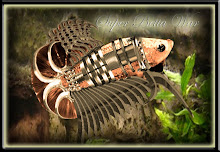
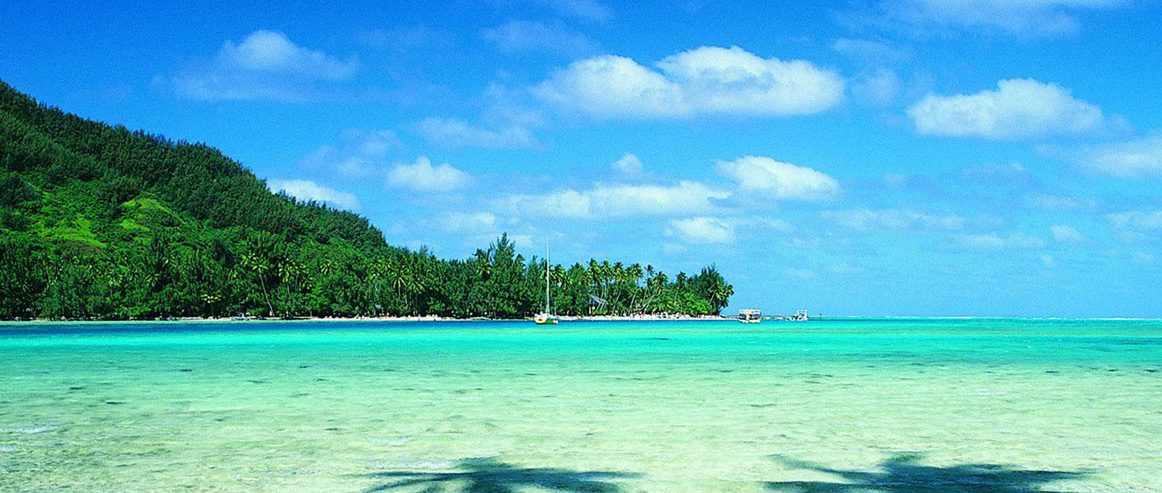
Original Photo


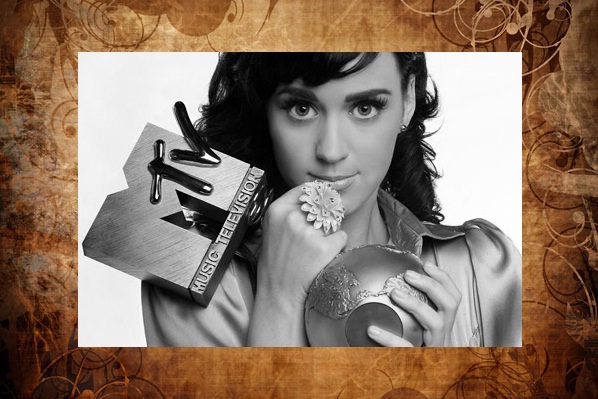
Final Image

Open the picture and old paper texture. Example for Old Paper Texture like this:

Then, Ctrl + A your photo, then press Ctrl + X (cut) and Ctrl + V at photo texture layer. See:
Desaturate the your photo. Go to Image > Adjustment > Desaturate or press Shift + Ctrl + U for shortcut. After desaturate you can see your photo like black and white photo. Like this:

Change the your photo mode to Multiply.

If you want to re-size your photo size press Ctrl + T then Enter.

Using a Eraser Tool > choose Spatter and change the brush size to 143 px.

Retouch at your photo line frame. See the example:

Go to Filter > Artistic > Smudge Stick

Duplicate the background. Click at background layer then choose Duplicate Layer.

Click at background and right click Delete a background. So now you only have a Background copy.

Click at Layer 1 (Your photo), right click > Merge Down. Now, you only have only one layer.

Go to Edit > Transform > Warp. Then drag your photo like this. If you this not satisfied, just press Ctrl + Alt + Z for Undo. Then click Enter.

You can retouch at paper line using Eraser Tool. Finish and Save it.
Final Image


