Adobe Photoshop Learning

Welcome to World Editing Photo

  • RSS
  • Delicious
  • Facebook
  • Twitter

Popular Posts

Magic Bird
Frog New Version
Magic Pigeon

Click Here

Home

Ads

Total Pageviews

Popular Posts

Thumbnail Recent Post

Followers

Photoshop Manipulation Blog

Photoshop Manipulation Blog is the best blog for you to choose as a guideline to follow how to edit your photo. There are many simple tutorials I create for you and not take a your time to read the steps ...

Organizer

This blog organize by Azli from Penang, Malaysia. I'm try to give a best tutorial with simple step for you to follow it. If you have a problem, about the tutorials or step you can comment directly at my box comment below the tutorial. Hopefully I can help you. Thanks ...

Visitor

Thanks to all because give your time to view my blog. The blog always update by admin everyday. If you want to see a new tutorials, this is the best website for you to see everyday. If you want to share your own idea, you can leave a comment and give your address website ...

Appreciation

Thanks for all visitor especially my beloved friend Miss Jiji who always supported me whatever I doing. Thanks, also to my family and visitor. Click at the promote ads as a point you all supported me, Thanks ...

Issues and Problems

I'm very sorry, if my tutorials or my photos edited make you feel down and cross your sensitivity. I try to improves or change it directly if I think the photos can make a controversy ...

Click Here

Hi everyone. Today I would like to show you how to manipulation the human body using Adobe Photoshop. Hopefully after see this tutorial you more creative to manipulate your own photo and leave a support comment. Thanks...


Final Photo

Original Photo: Cristiano Ronaldo

Step 1

Open the picture. Then you can download this fat guy photo and open it.

Step 2

Then, using a Pen Tool, draw Cristiano Ronaldo face.

Step 3

After finish you draw the Cristiano Ronaldo face, press Ctrl + Enter. You can see like this:

Step 4

Press Ctrl + X (cut) and Paste at Fat guy layer. Then, press Ctrl + T for re-size the Cristiano Ronaldo photo then Enter.

Step 5

Click at Eraser Tool choose a soft eraser size 100, 200, or 300 px. Depends your photo size.

Step 6

Touch up at Cristiano Ronaldo neck. Simple. And you can see like this:

Step 7

Then, Go to Image > Adjustment > Brightness/ contrast.

Step 8

Lastly, Go to Image > Adjustment > Vibrance


Final Photo
This photo just for fun. If you like this tutorial, you can leave comment for support this blog.

Firstly you must have a tripod and catch your photo. Take two photo in a same place without change the location. For the first photo and second photo must be change your cloths or cap. So you can see the different about the photo.

Final Image

Camera + Tripod


Original Image


Step 1

Open the photo then cut it. Just click at Rectangular Marquee Tool. Then press Ctrl + X (cut) and Paste at second Photo (Ctrl + V)

Step 2

Change mode layer to Multiply.

Step 3

Using a Eraser Tool remove background (Layer 1)

Step 4

Click at Layer 1, change mode to Normal. Finish

Final Image
As a point you like this tutorials, leave a comment for support this blog. Thanks for viewers.

Hi, today I would like to show you how manipulate the dragon comodo (monster lizard) photo. Just for fun. If you like it you can leave a comment. Thanks for viewers.


Final Photo

Original Photo (Link)

Step 1

Open the picture. You also must open the monkey picture.

Step 2

Crop the monkey face using Polygonal Lasso Tool. Then paste at lizard photo. For re-size the monkey photo just press Ctrl + T.

Step 3

Click at Eraser Tool then setup the soft brush. Choose 100 px, 200 px or 300 px to retouch at monkey face.

Step 4

After that using a Polygonal Lasso Tool draw the lizard tongue. See this:

Step 5

Create a new layer just press Shift + Ctrl + N. Then press Ctrl + X (Cut) and Paste at a new layer.

Step 6

Locate the tongue at monkey mouth's. Then using a Eraser Tool retouch it. Like this:

Step 7

Click at background layer, then click at Clone Stamp Tool.

Step 8

After that press Alt + click at at previous tongue area. See this photo:

Step 9

After that, click at Monkey layer, go to Image > Adjustment > Brightness/Contrast

Step 10

At the same layer, go to Image > Adjustment > Vibrance setup Vibrance -40 and Saturation -10. Then click OK.


Final Photo

Hopefully after view you can leave a comment and as a point you thankful with this tutorial. Thanks..

Click at photo to view large
Final Image


Step 1

Open the broken eggs photo and your wedding photo.

Step 2

Using Eraser tool remove the background. Like this:

Step 3

Press Ctrl + Click at wedding layer then press Ctrl + X (cut) and Paste (Ctrl + V) at broken eggs layer. You must re-size it (Ctrl + T).

Step 4

Go to Rectangular Marquee Tool. Doing like this:

Step 5

After that, go to Edit > Transform > Warp and drag like this:

Step 6

Time to make shadow.Create a new layer then, Click Brush or press B, color this point.

Step 7

Go to Image > Adjustment > Brightness/ Contrast or Vibrance. Then setting the wedding photo layer lighting . It must be same with the broken eggs lighting. The setting is depends at your photo brightness. Finish..Thanks.

Final Image


Hopefully you all success in your life

Hai, today I would like to show you a simple tutorial how to create a robotic effects. Hopefully after view you can leave a comment. Thanks for viewers.

Final Photo

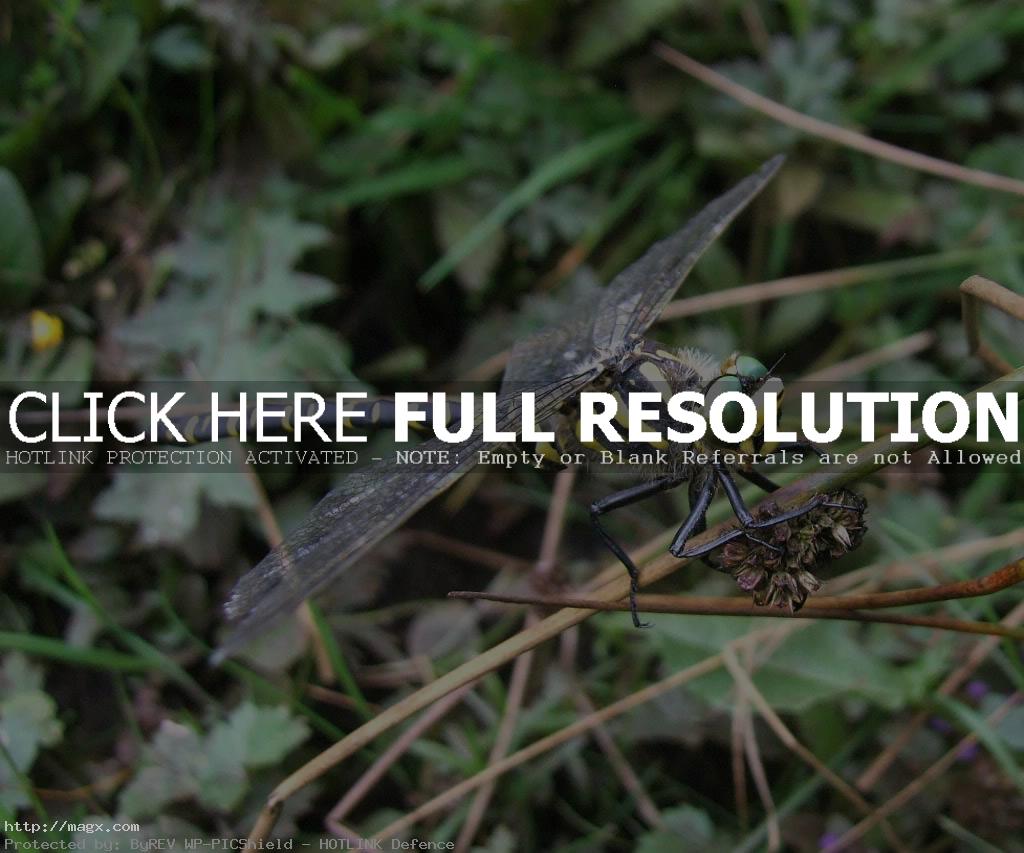
Original Photo

Step 1

Open the picture. You can download a high resolution picture from Link

Step 2

You can search from Google Images any chrome objects to add at dragonfly body. Depends your own creativity. My suggestion you can search motorcycle chrome engine. Like this:

Step 3

Then, find a best part for to crop add paste at dragonfly body. See I crop some part. Using a Polygonal Lasso Tool, Ctrl + C then Ctrl + V at dragonfly body.

Step 4

Adjust and re-size the part. Press Ctrl + T or go to Edit > Transform > Warp.

Step 5

Actually to build the robotic machine is very easy. You must creative to fine a suitable part to add on dragonfly body.

Step 6

This is suitable the dragonfly mouth.

After re-size.

Step 7

After finish you add on chrome objects to the body, for every parts functions like mouth, eyes part, you can change the color. Go to Image > Adjustment > Hue/Saturation and tick at colorize.

Final Photo

Mosquito Robotic Effects

Bee Robotic Effects