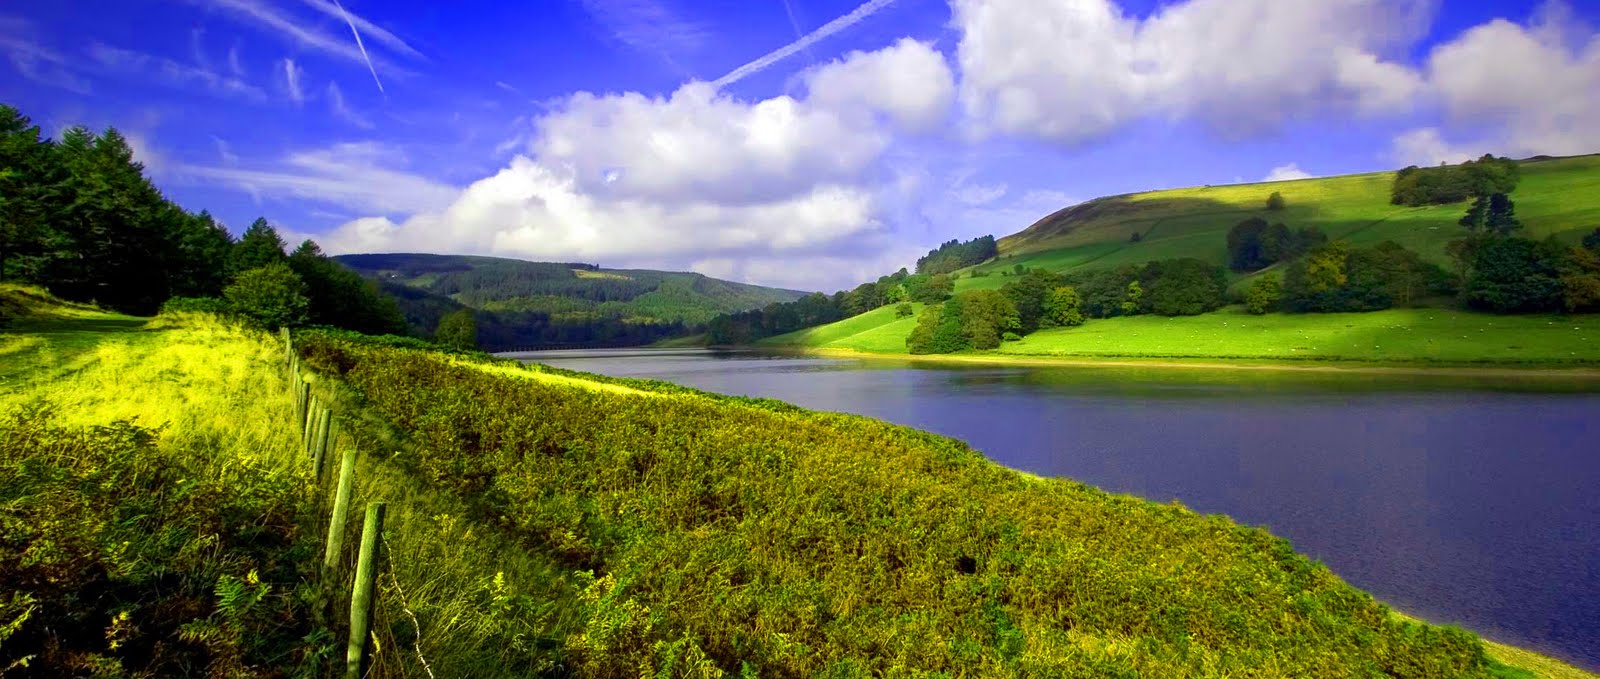
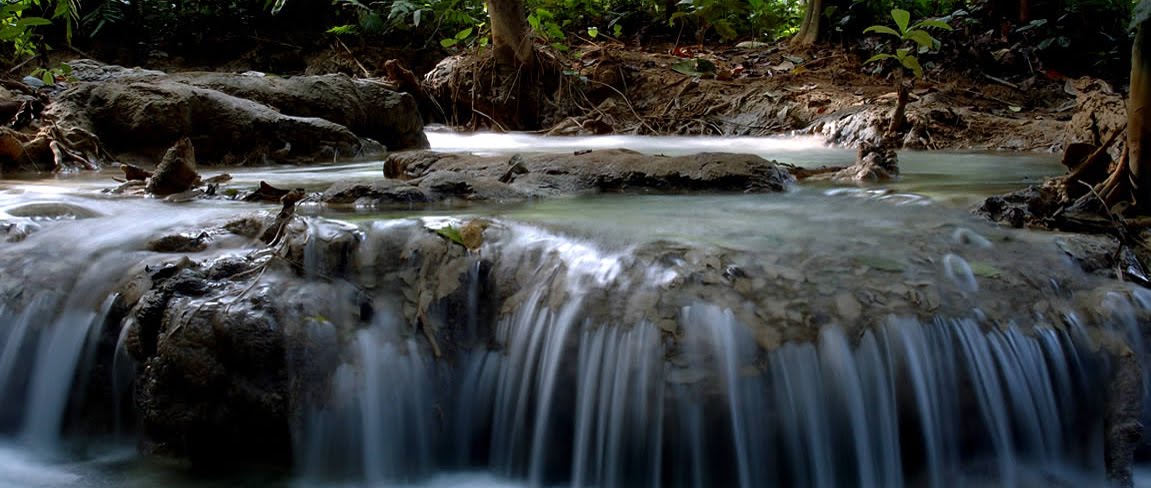
Adobe Photoshop Learning

Welcome to World Editing Photo

  • RSS
  • Delicious
  • Facebook
  • Twitter

Popular Posts

Magic Bird
Frog New Version
Magic Pigeon

Click Here

Home

Ads

Total Pageviews

Popular Posts

Thumbnail Recent Post

Followers

Photoshop Manipulation Blog

Photoshop Manipulation Blog is the best blog for you to choose as a guideline to follow how to edit your photo. There are many simple tutorials I create for you and not take a your time to read the steps ...

Organizer

This blog organize by Azli from Penang, Malaysia. I'm try to give a best tutorial with simple step for you to follow it. If you have a problem, about the tutorials or step you can comment directly at my box comment below the tutorial. Hopefully I can help you. Thanks ...

Visitor

Thanks to all because give your time to view my blog. The blog always update by admin everyday. If you want to see a new tutorials, this is the best website for you to see everyday. If you want to share your own idea, you can leave a comment and give your address website ...

Appreciation

Thanks for all visitor especially my beloved friend Miss Jiji who always supported me whatever I doing. Thanks, also to my family and visitor. Click at the promote ads as a point you all supported me, Thanks ...

Issues and Problems

I'm very sorry, if my tutorials or my photos edited make you feel down and cross your sensitivity. I try to improves or change it directly if I think the photos can make a controversy ...

Click Here

Final Image

Original Image

Step 1

Open the pic and duplicate layer or press Ctrl + J

Step 2

At Layer 1, Go to Filter > Distort > Glass

Step 3

Download Broken Glass Effect

Click at Broken Glass Effects words...
Save the file at Desktop


Step 4

Go to Brush > Load Brushes from your desktop..See the example:

Step 5

Create new layer. Press Shift + Ctrl + N...Then Enter

Step 6

Press B for Brush Tool then find a suitable broken glass effects for your photo.
then click at new layer

If you think so small ,2500 pixels just press Ctrl + T for resize..So easy..

Step 7

Click at Layer 1, then click at Eraser Tool. Erase inside the broken glass..Like this:

Step 8

At Layer 2 (Broken Glass Layer), right click > Blending Mode


Final Image


Please leave comment...Thanks for viewing

Original Image

Final Image

Step 1

Open the pic and duplicate the layer or press Ctrl + J

Step 2

At Layer 1 go to Filter > Sketch > Photocopy
*Note: Setup is depends at your photo resolution.

Step 3

Go to Filter > Sharpen > Sharpen More


Step 4

At the same layer, change mode Normal to Overlay. Then Go to Image > Adjustment > Hue/Saturation. Setup depends at your own photo resolution.

Final Image


Thanks for view..Hopefully can leave comment about this photo...

Original Photo

Final Photo

Follow this step...
Step 1

Open any pic, then click at Brush Tool or Press B

Step 2

Then, you must download this file and save at your desktop
http://www.mediafire.com/?addwvwabwwzl69o

Step 3

Open Brush Preset Picker > Load Brushes
then load the file.


Then drag it

just setting their size and click at your photo. You can choose type of flying birds.

Finish....Thanks for Viewing

Final Photo

Hopefully after see, you can leave comment...Thanks


Final Image

Original Image

Step 1

Open the pic and create new layer

Step 2

Click at new layer, then go to Edit > Fill

Step 3

Go to Rectangular Marquee Tool then draw inside the photo. Draw like this:

then, Go to Edit > Fill

then press Ctrl + D

Step 4

After that Go to Filter > Convert for Smart Filters then click OK

Your layer can see like this:

Step 5

Go to Filter > Blur > Gaussian Blur

then setup with your own creativity because different photo resolution, different setting. You just focused the photo line. Must be like this.

Step 6

Go to Filter > Pixelate > Color Halftone...

then click OK

After that, change mode Normal to Screen...Finish..


Final Image

Hopefully After See, Please Leave Comment About The Photo Manipulation. Thanks for Viewing...

Click at Photo to view Large

Hopefully after view, please leave comment about the photo. Thanks for viewing.
Thanks & Regards
Click at photo to view Large

Hopefully after see this photo, you can leave your comment
Diharap selepas melihat gambar ini, anda dapat memberi komen

Thanks & Regards